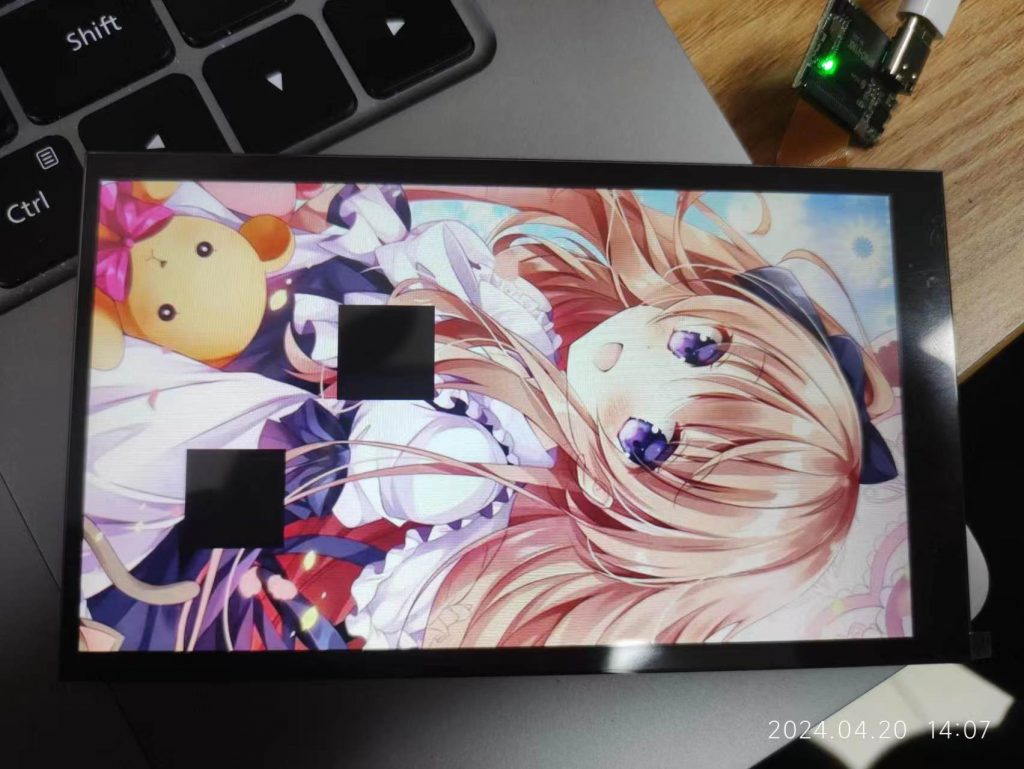
To increase FPS for bigger screens, partially draw is necessary and important.
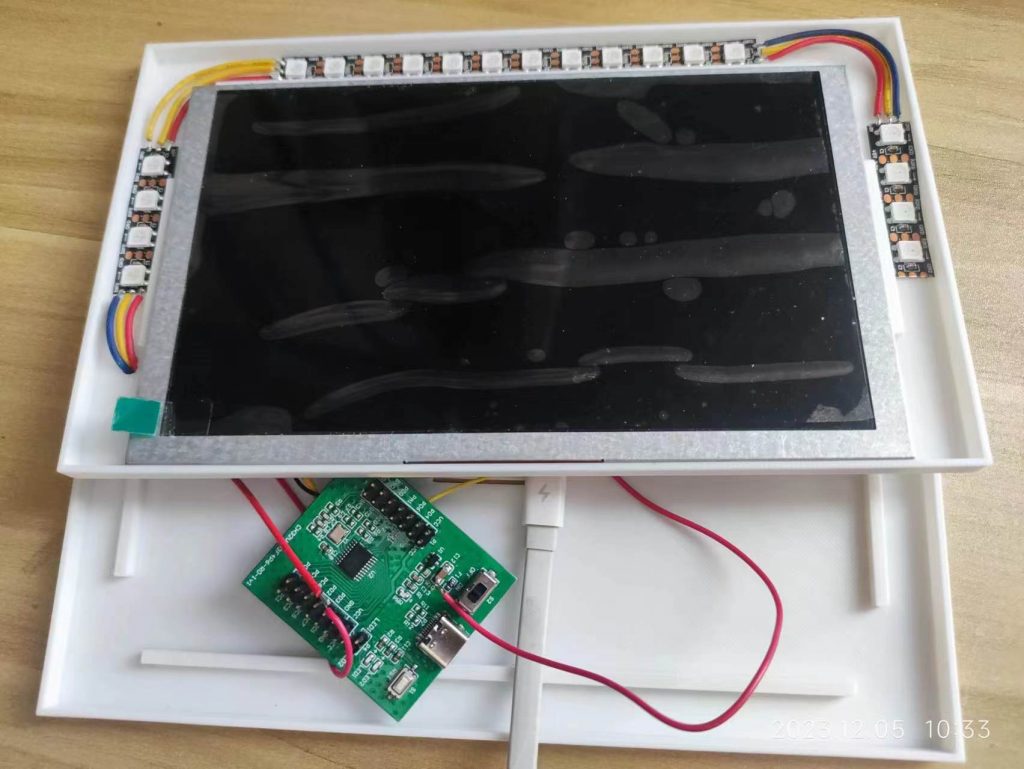
MPRO driver board now support this.
Before send the frame, need to setup a “window”, then data will only write to this window.
Here is example code(download full code at https://vocore.io/misc/v2scrctl-release.zip, tools/screen_test.partily.c)
uint8_t cmd3[] = {0x00, 0x2c, 0x20, 0x4e, 0x00, 0x00, 0x63, 0x00, 0x65, 0x00, 0x64, 0x00};
res = libusb_control_transfer(handle, 0x40, 0xb0, 0, 0, cmd3, sizeof(cmd3), 100);
res = libusb_bulk_transfer(handle, 0x02, partily_frame1, sizeof(partily_frame1), NULL, 100);

cmd3[6] = cmd3[8] = 250;
res = libusb_control_transfer(handle, 0x40, 0xb0, 0, 0, cmd3, sizeof(cmd3), 100);
res = libusb_bulk_transfer(handle, 0x02, partily_frame1, sizeof(partily_frame1), NULL, 100);
explain cmd3:
- 0x00, 0x2c: write to memory command code.
- 0x20, 0x4e, 0x00, 0x00: write size is 0x00004e20(20000) bytes, this is because our paritly draw image is 100×100 resolution, and bitmap16, so it is 100x100x2 = 20000bytes.
- 0x63, 0x00: start position X, in example it is 0x0063(99) pixels.
- 0x65, 0x00: start position Y, in example it is 0x0064(101) pixels.
- 0x64, 0x00: image window width or line width, in example it is 0x65(100) pixels.
- no image window height, it can be calculated from [write size] / [window width] / 2
After this call, it will write 100×100 image block to screen position left top corner = (99,101)
PS: another block at (250, 250).