Monthly Archives: April 2024

MPRO: Partially Draw

To increase FPS for bigger screens, partially draw is necessary and important.

MPRO driver board now support this.

Before send the frame, need to setup a “window”, then data will only write to this window.

Here is example code(download full code at https://vocore.io/misc/v2scrctl-release.zip, tools/screen_test.partily.c)

uint8_t cmd3[] = {0x00, 0x2c, 0x20, 0x4e, 0x00, 0x00, 0x63, 0x00, 0x65, 0x00, 0x64, 0x00};
res = libusb_control_transfer(handle, 0x40, 0xb0, 0, 0, cmd3, sizeof(cmd3), 100);
res = libusb_bulk_transfer(handle, 0x02, partily_frame1, sizeof(partily_frame1), NULL, 100);

cmd3[6] = cmd3[8] = 250;
res = libusb_control_transfer(handle, 0x40, 0xb0, 0, 0, cmd3, sizeof(cmd3), 100);
res = libusb_bulk_transfer(handle, 0x02, partily_frame1, sizeof(partily_frame1), NULL, 100);

explain cmd3:

  • 0x00, 0x2c: write to memory command code.
  • 0x20, 0x4e, 0x00, 0x00: write size is 0x00004e20(20000) bytes, this is because our paritly draw image is 100×100 resolution, and bitmap16, so it is 100x100x2 = 20000bytes.
  • 0x63, 0x00: start position X, in example it is 0x0063(99) pixels.
  • 0x65, 0x00: start position Y, in example it is 0x0064(101) pixels.
  • 0x64, 0x00: image window width or line width, in example it is 0x65(100) pixels.
  • no image window height, it can be calculated from [write size] / [window width] / 2

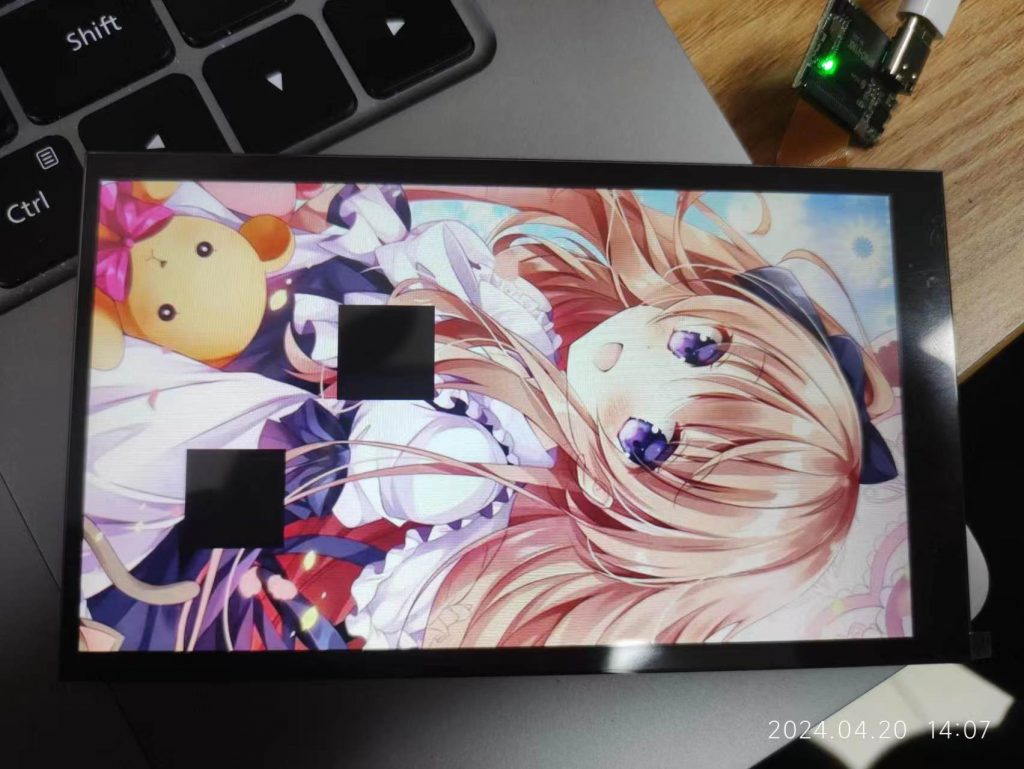
After this call, it will write 100×100 image block to screen position left top corner = (99,101)

PS: another block at (250, 250).
VoCore2: OpenWrt 23.05 Sound Part

Finally sound part works. Thanks to contributor patches.

The problem is caused by DMA did not correctly stopped before I2S stop, then DMA write to invalid memory address then casued watch dog reset the hole system, no oops.

Patches has upload to: https://github.com/Vonger/vocore2/tree/master/openwrt.2305

OpenWrt source code patch openwrt.patch folder, linux kernel patch at kernel.sound folder, need to copy to target/linux/ramips/patches-5.15

In menuconfig, need to select kmod-mt7628-es8388, kmod-i2c-mt7628 etc… For simple just copy menu.config to .config in your openwrt folder, will compile everything.

VoCore2: OpenWrt 23.05 Part2

Continuing with my last blog, the sound part. Last time I found there was a problem, some kernel code was broken because I could patch and compile it but once I ran aplay the kernel would crash.

I checked openwrt 18 and openwrt 19, the patch worked well for both of them, but from openwrt 20, the latest version, none of them worked.

I compared their source code about the sound card main reference clock, its output 12M was normal; I2C, I2S, which were used to control and send data, this part was normal too; sound card part driver es8328.c and es8328-i2c.c both seemed fine to me. Only one doubt was the DMA driver, we sent data to memory and it carried data to I2S then the sound card played sound. One more thing was DMA driver was moved to staging in linux kernel, that meant somebody found the problem too. If DMA has any bug like writing data to a place that surprises the kernel, the unhappy kernel crashes with no apparent reason and reboots itself.

So its time to hack the linux kernel again…Good luck to me.

I think the DMA driver’s source code has not changed, but the linux kernel somehow has changed. That brought a new problem. The code is in drivers/staging/ralink-gdma/ralink-gdma.c, this linux kernel is 5.15.137.

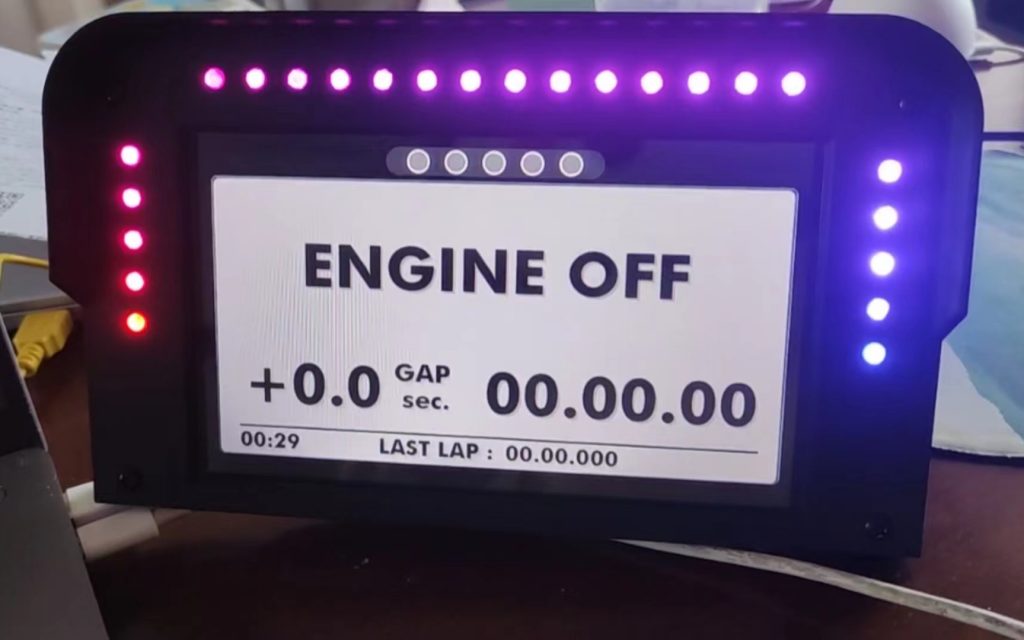
6.8inch Screen CH32V003+WS2812 DEMO

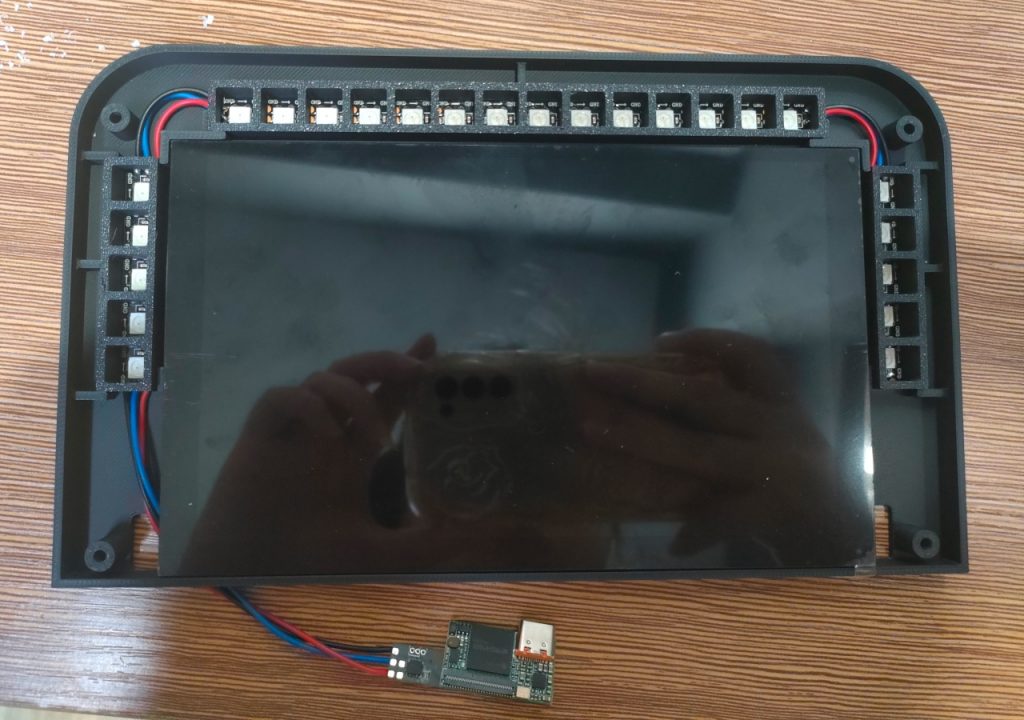
In order to simplify the development of dashboards based on the VoCore MPRO screen, CH32V003, and WS2812, we have created a simple demo that is now available for order at vocore.io/store.

The shell was designed using FreeCAD. We are not experts in design, so please feel free to modify it. 🙂

Download here https://github.com/vonger/6IN8SHELL

Reference link: https://github.com/Vonger/V7B_WS2812B

Reference link: https://vonger.cn/?p=15457

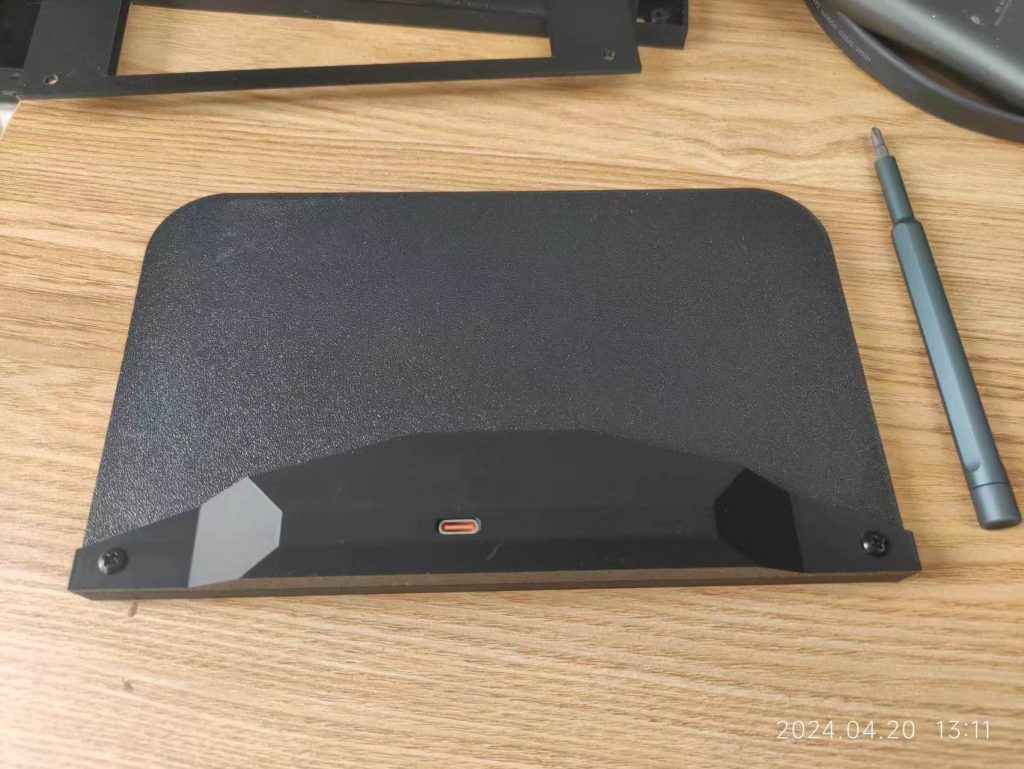
back side
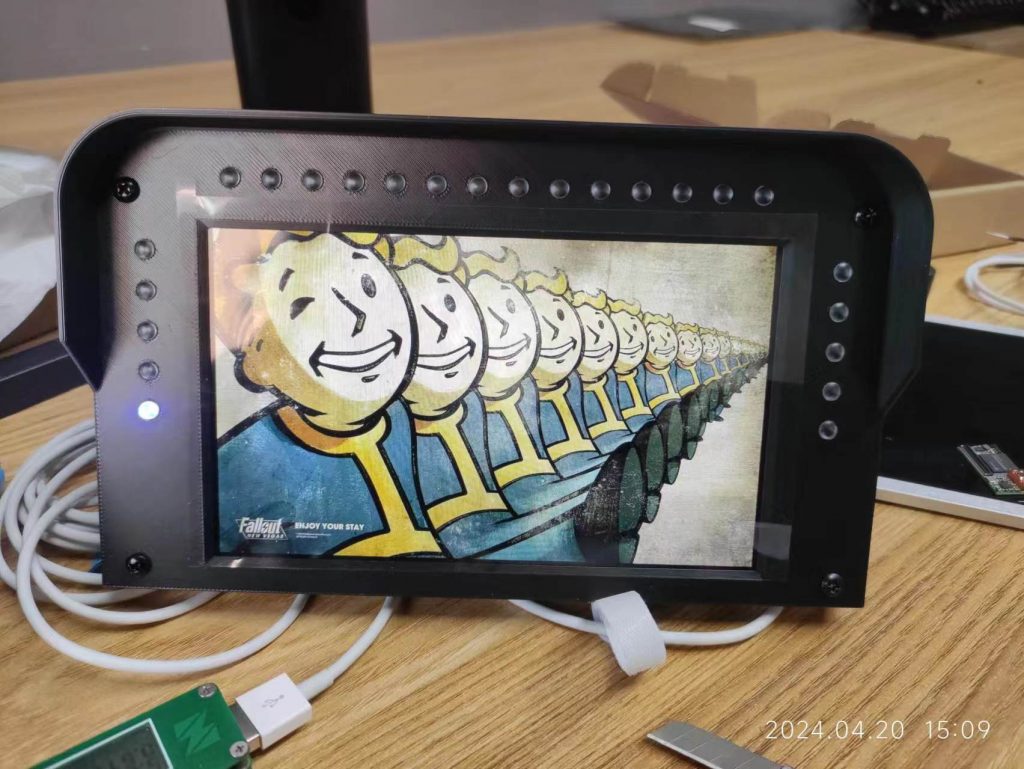
front side

Note: This demo is designed to show how MPRO works with WS2812 LEDs. I am not skilled in design, so it is not recommended for DDU users. However, if you wish to use it as a low-cost DDU, I cannot stop you. 🙂

Setup in Simhub: Devices => Add new device => Create standard device => Generic VoCore Screen with I2C LEDs

Note: if you have exists arduino LED profile, export then import to Generic VoCore Screen with I2C LEDs, it will work.