It is time to write something 🙂
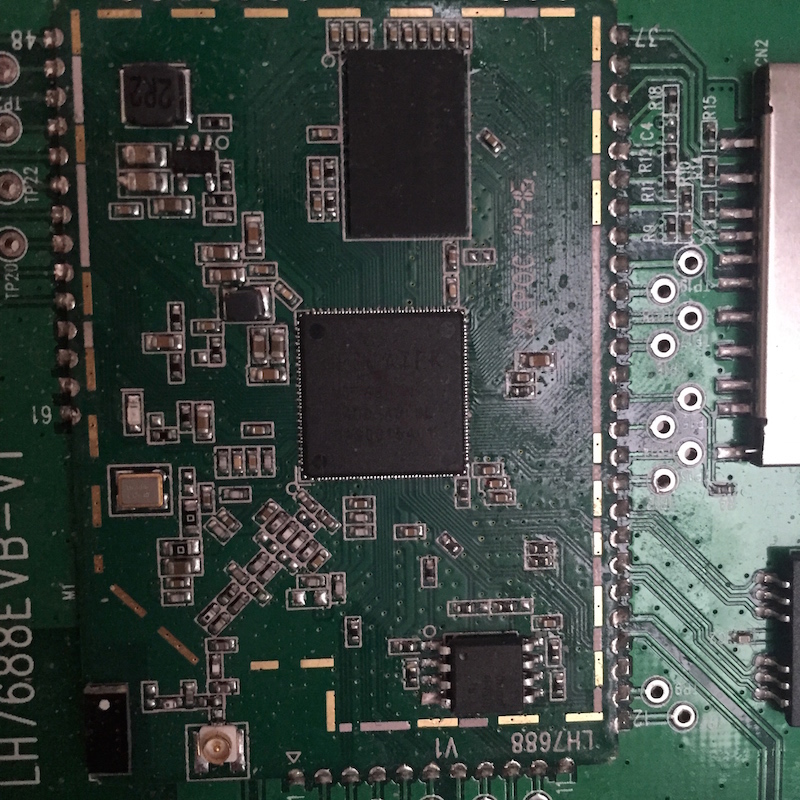
My choice is I2C on VoCore, due to it is necessary for AD convert chip, my board main chip is PCF8591T.
In VoCore forum, somebody have tried that already, happens to use the same chip, that really helps a lot.
Here is the link:
http://forum.vocore.io/viewtopic.php?f=10&t=115
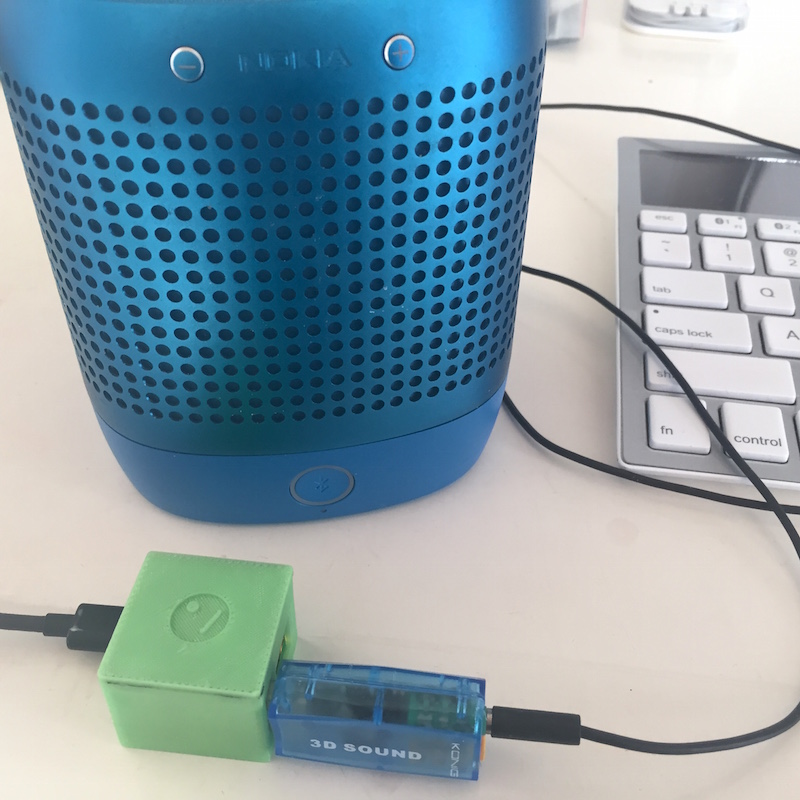
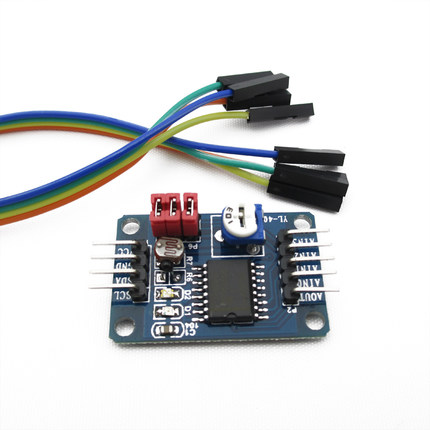
This is my PFC8591T test board:
Directly connect to VoCore:
BOARD VCC -> VoCore 3.3V
BOARD GND -> VoCore GND
BOARD SCL -> VoCore G#02/I2C_SCLK
BOARD SDA -> VoCore G#01/I2C_SD
Note: Please download the latest manual, old one have bug about i2c pins. http://vonger.cn/upload/vocore.manual.pdf
My connection:
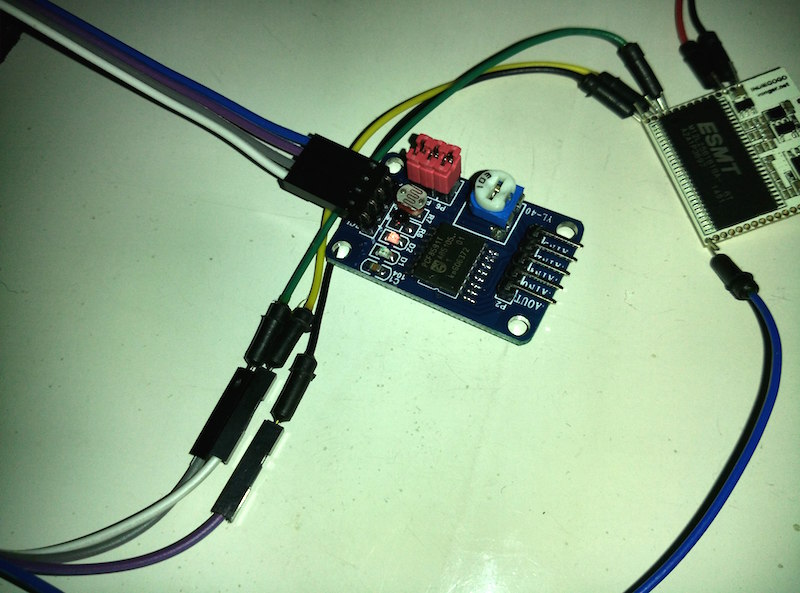
Important Note: I2C should have pull up resistors on SCL and SDA, but for simple, I did not use it, my current PFC8591T just works well, but it is not guaranteed, in other case, MUST connect with pull-up resistors.
ssh to VoCore, check if /dev/i2c-0 exists.
If not, check if you have installed all i2c model(call lsmod | grep i2c)
kmod_i2c_core, kmod_i2c_dev and kmod_i2c_ralink
If there still no /dev/i2c-0. call insmod i2c-dev
(Still not there? Try to compile and upload firmware again, might be driver version issue, old driver might not work)
Option: we can install i2c-tools to test i2c.
Current openwrt package, it has been removed.
We can find it in old packages for 14.07.
http://downloads.openwrt.org/barrier_breaker/14.07/ramips/rt305x/packages/oldpackages/libi2c_2013-12-15-1_ramips_24kec.ipk
http://downloads.openwrt.org/barrier_breaker/14.07/ramips/rt305x/packages/oldpackages/i2c-tools_2013-12-15-1_ramips_24kec.ipk
Call i2cdetect -r 0
You will get this:
root@OpenWrt:~# i2cdetect -r 0
WARNING! This program can confuse your I2C bus, cause data loss and worse!
I will probe file /dev/i2c-0 using receive byte commands.
I will probe address range 0x03-0x77.
Continue? [Y/n]
     0  1  2  3  4  5  6  7  8  9  a  b  c  d  e  f
00:          -- -- -- -- -- -- -- -- -- -- -- -- --
10: -- -- -- -- -- -- -- -- -- -- -- -- -- -- -- --
20: -- -- -- -- -- -- -- -- -- -- -- -- -- -- -- --
30: -- -- -- -- -- -- -- -- -- -- -- -- -- -- -- --
40: -- -- -- -- -- -- -- -- 48 -- -- -- -- -- -- --
50: -- -- -- -- -- -- -- -- -- -- -- -- -- -- -- --
60: -- -- -- -- -- -- -- -- -- -- -- -- -- -- -- --
70: -- -- -- -- -- -- -- --
That 48 is HEX, it is equal 1001000b, that is PCF8591T address code, so this device is normal.
Let’s try more. 🙂 The code on forum just works, compile it and transfer it to VoCore.(Looks like we are using same board too, so I do not need to change a line 😀 )
root@OpenWrt:/tmp# ./pcf8591
Light:245 Temp:216 X:148 Potmeter:120
My compiled app: pcf8591