Just finish the shipping 🙂
Have some time to public my test project.
To make a toy car, we need some materials:
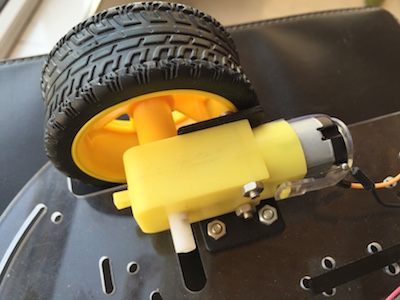
1. a toy car base, include wheels, motors.

2. batteries, they are two cheap 18650(the real cap is 800mA…)

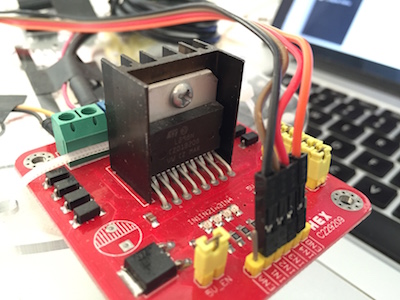
3. a driver board, it is L298N.
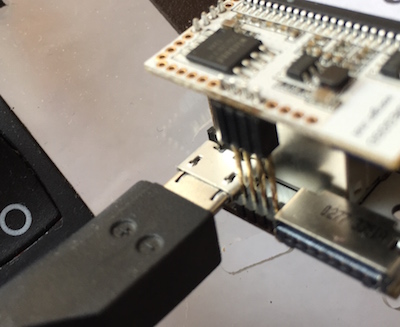
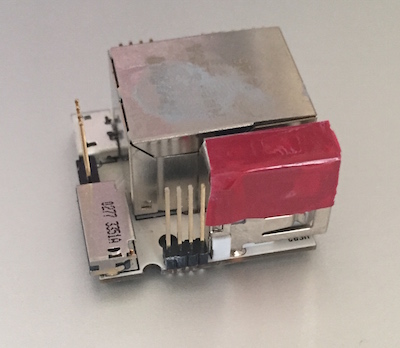
4. vocore, of course(do not need dock, but with dock assemble will be easy)
5. some wires.
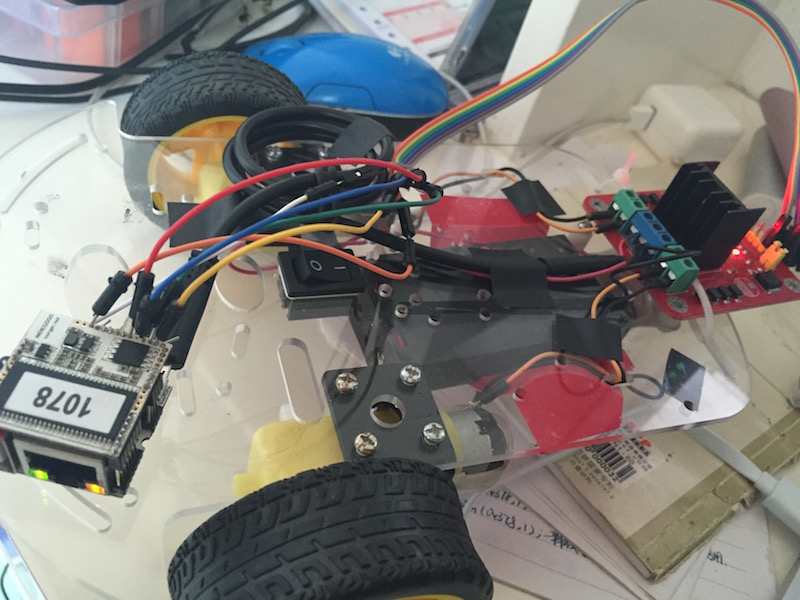
assembled base:

Rest, you need a computer, better to be a linux system(virtual machine is also good), already install and compiled openwrt, we need its cross compiler.(RT5350 SDK complier is also fine, but that is hard to find. I like openwrt one)
For remote control, you might need an android device or iOS device, I write a simple code based on Qt, just UDP protocol.
L298N have two motors control and one 5V voltage output.
We just connect the 5V to vocore USB power slot(or the 3.5V~6V hole without dock), I cut a usb wire.
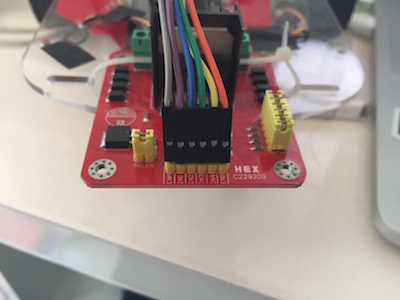
Connect L298N control with VoCore GPIOs. Six control ports, so we need six gpios.
ENA-> enable motor A
ENB-> enable motor B
IN1, IN2 -> control motor A
IN3, IN4 -> control motor B
Checking DTS, the dear VoCore have GPIO21~GPIO26, totally 6 GPIOs exported already, so just use them.
ENA-> GPIO21
ENB-> GPIO22
IN1-> GPIO23
IN2-> GPIO24
IN3-> GPIO25
IN4-> GPIO26


Better to cover here, or it might short connect.
Now boot VoCore. Push the button 😉 It is not necessary if you do not have a switch.
Set all GPIOs to output and all GPIO to 0.
Set Enable A to 1.
Reference: http://vonger.cn/?p=473 Test GPIO
Running:
Now there is a stupid video 🙂 I make one wheel run. It drop down from my table but still run in a cycle, look like the VoCore quality is not bad. Just wake up my dog…:D
[embedyt]http://youtu.be/NBiNTo1hGzI[/embedyt]
Tomorrow I will write a simple application on my phone, so it will be enable the remote phone control 🙂